Metabrowser Plugin Setup
Whether you are starting a new project or want to convert an existing project into a Metasite, the process is the same. Creating a Metasite is as simple as placing the Metabrowser plugin in the Plugin folder of your project and following several simple steps to set it all up. These steps are described below:
- Download the Metabrowser plugin here and place it inside the Plugin folder of your project, whether it is a new project or an existing one does not matter. If your project does not have a Plugins folder, create a new folder:

- Verify the Unreal Engine version you want to use:
- Right-click on the
.uprojectfile and select Switch Unreal Version.

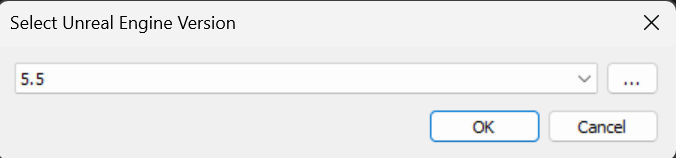
- Select the Unreal Version from the dropdown list (note: 5.5 and 5.6 are supported):
Note: If your project is a Blueprint Only project, you will need to convert it to a C++ project first: How to convert Blueprint to C++ Project
- If you have completed the previous step successfully, a Visual Studio solution file with your project name will be created in the root of your project (
.slnfile).
-
Open the Visual Studio solution file with Visual Studio or another editor of your choice (e.g., Rider), this guide will use Visual Studio as an example, and build your project.
-
- Make sure that your project is set as the Startup Project.

-
- Build your project.

- Once the Unreal Editor opens, you need to configure WorldSettings, set the correct Game Mode, and set the default map in Project Settings, if you have not done so previously.
- Set the WorldSettings class in Project Settings to
QWorldSettingsand restart the editor.

- Set the server connection parameters as shown in the image below:

- Set the Game Default Map to your map in Project Settings.

- Set
BP_MBGameModeas the Default GameMode in project settings or, alternatively, setGameModeOverridetoBP_MBGameModein WorldSettings for a specific map.


- Since the Metabrowser project relies on UserSettings, you also need to enable it on your project. This can be done in Project Settings by setting Enable User Settings to
True.

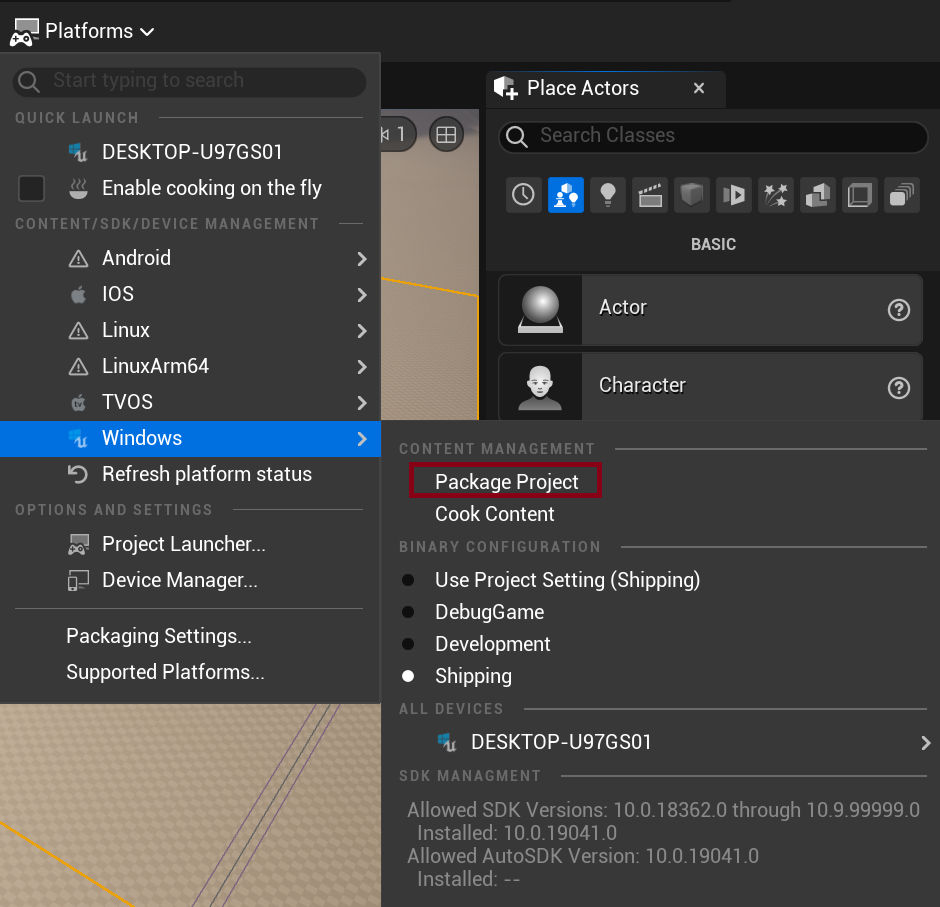
- If you have reached this step, your project configuration is finished. All that is left is to create a Shipping build of your project. You can do so in multiple ways, see the image below for the simplest way: